Building a Realistic Raindrop-Covered Window Pane Material in Three.JS

Recently, I’ve been working on a rainy scene in Three.JS. One of the most important parts of this scene is a greenhouse with big glass windows.
I decided to take a stab at making some realistic raindrop-covered window panes for them using Three.JS’s built-in transmission shader. The result turned out pretty well if I do say so myself, so I thought I’d write up my process for building it from start to finish.
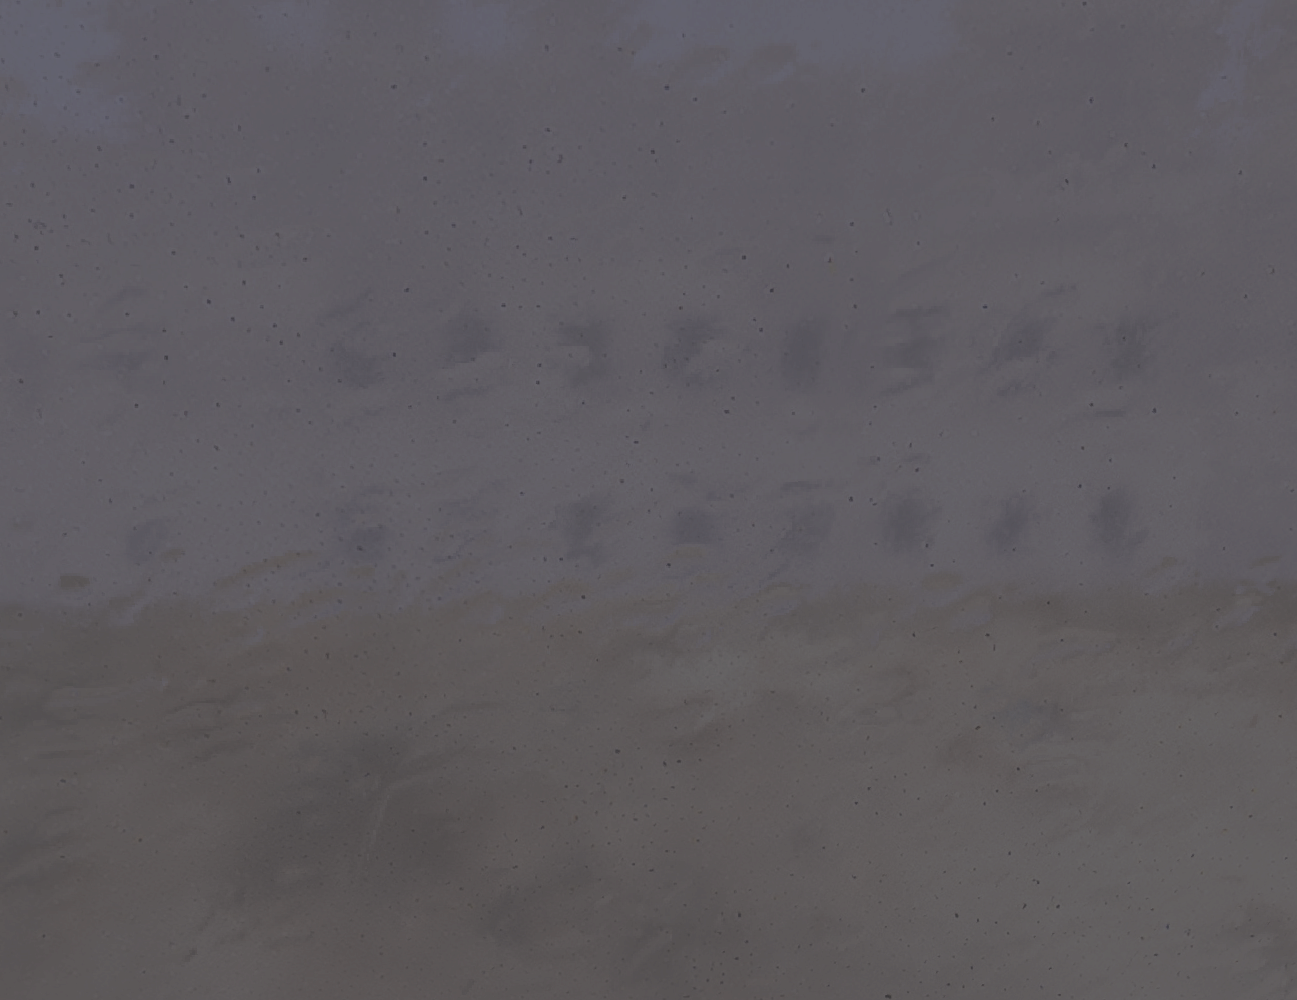
Here’s how the finished material looks when included in my scene:
As you can see, the window looks like it has lots of raindrops on its outer surface. Notice how buildings in the background get distorted and twisted in areas where the rain drops are heaviest.
In addition, the whole background is quite blurred and out of focus - as if the window was quite thick or covered with condensation.
Finally, there are lots of small black flecks on the window surface, making it appear dirty or old. This helps make the window feel more tangible rather than having it be completely clear and clean.
I’ll break down how I built each of these components and how they all work together to produce the final Three.JS material.
Transmission via MeshPhysicalMaterial⌗
Transmission is the key to making this material look good. If you’re not familiar with it, transmission is a property available on MeshPhysicalMaterial that functions kind of like a more advanced and powerful version of transparency/opacity. It simulates different properties of light and exposes several controls for altering the way light passes through objects.
For my needs with this window, there are a few properties which are key for getting the effect I wanted.
Transmission⌗
The transmission parameter controls the amount of transmission. It does pretty much the same thing as opacity, but for transmissive materials rather than transparent ones.
For my material, I just set transmission to 1. This means that the whole material is 100% transmissive/transparent. That value makes sense for a window.
Setting it to a value lower than 1 will cause the material’s base color to be mixed in with the colors transmitted through from the background. Here’s how a value of 0.7 looks for my window material:
The window’s base color is white, so it looks milky-white as its base color is mixed in with the transmitted background.
IOR⌗
ior stands for index of refraction. This is a number which represents how much the material bends light. The default value is 1.5, and setting it higher will add more bending.
ior was a bit harder to figure out. For my window, I ended up with a value of 1.6 - slightly above the default of 1.5.
ior is very closely linked with roughness; changing one will cause pretty drastic differences in the other’s functionality. Because of this, I found it best to adjust them together.
Overall, I found that higher IOR values tend to make the blur more pronounced and as the value approaches its minimum of 1, the raindrops almost completely disappear.
Roughness / Roughness Map⌗
Now we get into the meat of the implementation.
roughness is usually used to control how reflective a material is, but it has a special purpose on materials with transmission. For transmissive materials, roughness controls how much blur the material applies to the background (higher = more blur).
I chose a base roughness of 0.64 for my window. This provides a good bit of blur without totally obscuring the background.
However, the real important part is the roughnessMap. This allows the blur factor of the material to be varied across its surface. Here’s the texture I’m using for the roughness map of the window material:

A bit of a surprising choice for use on a window!
This is actually a texture I generated myself with stable diffusion for use in a metallic gold material I used in a different scene. I converted it into a full-fledged PBR material using a process I detailed in a different post.
One important property of this texture is that it’s seamless - meaning it repeats in both the X and Y axis without any gaps or discontinuities. This is important for my material since the texture is pretty small (1024 x 1024) and so it needs to repeat multiple times across the large surface of all the windows.
Anyway, although it might seem surprising at first, this material actually works very well for creating raindrops.
When Three.JS interprets textures as roughness maps, it only looks at the green channel. So, that texture will actually be the same as this grayscale image:
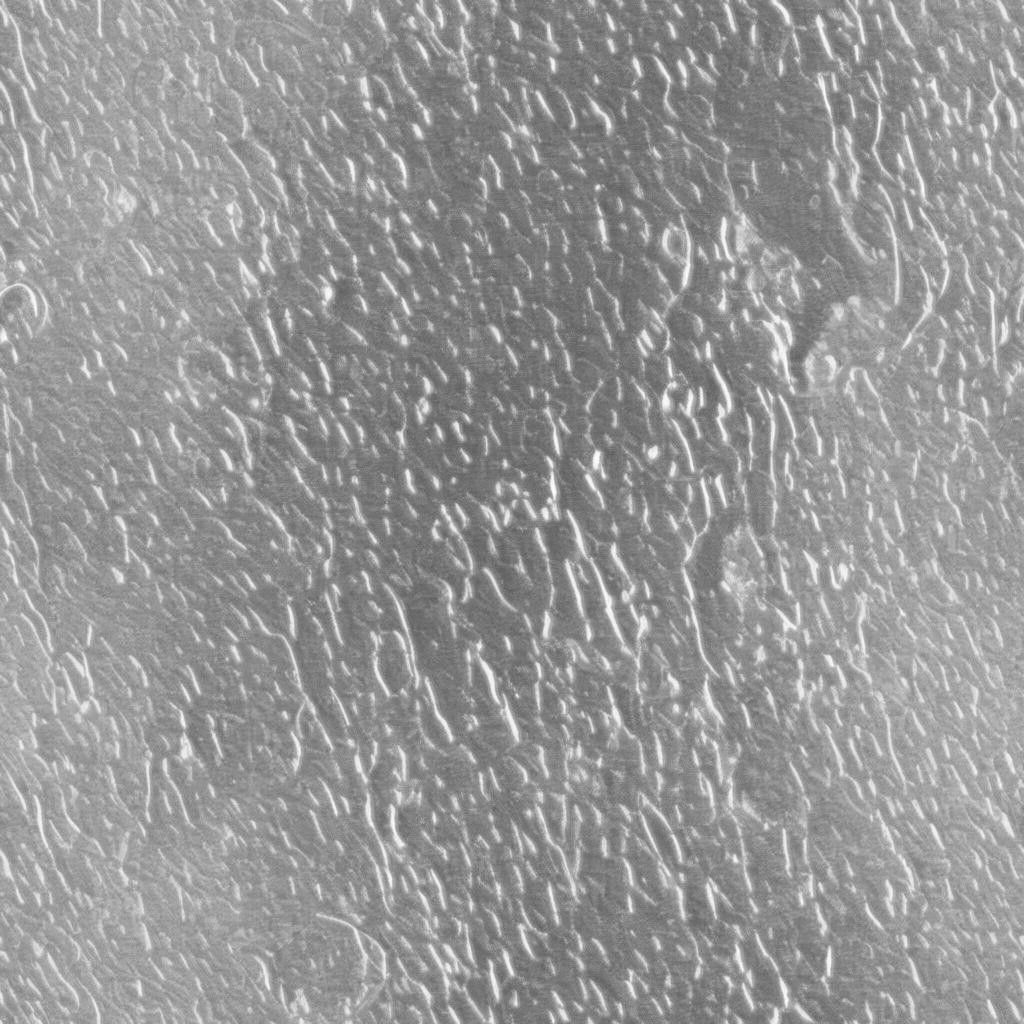
Notice the white streaks across the texture. Those come from the specular highlights (shiny parts where lots of light is reflecting) from the original texture. At those parts of the texture, the roughness will be higher, causing there to be more blur when transmission is applied. These spots correspond to the raindrops themselves.
Here’s the Three.JS material containing all the properties we set to far:
To be honest, I’d say that they already sort of look like raindrops! They look more like smudges than anything, though, and they lack a feeling of depth, but the effect is starting to take shape already.
Note About Three.JS Transmission Shader Blur⌗
One important thing to note is that Three.JS made some major improvements to its transmission shader back in version 150 thanks to work by n8programs. If you try to replicate this material or honestly if you make use of transmission with blur at all, make sure you’re using a version of Three.JS with those upgrades.
Here’s a before-and-after screenshot from the PR implementing the changes (left = before, right = after):
As you can see, it’s a massive improvement. My material looked pretty bad without it!
Normal Map⌗
Now it’s time to give those raindrops the depth they’re lacking.
Normal maps define the angle of the surface at every point on the material. It can be used to add additional details to materials without having to add additional geometry.
I used a web service called Poly to generate PBR maps - including a normal map - from my gold texture using AI. The result is a normal map which looks like this:
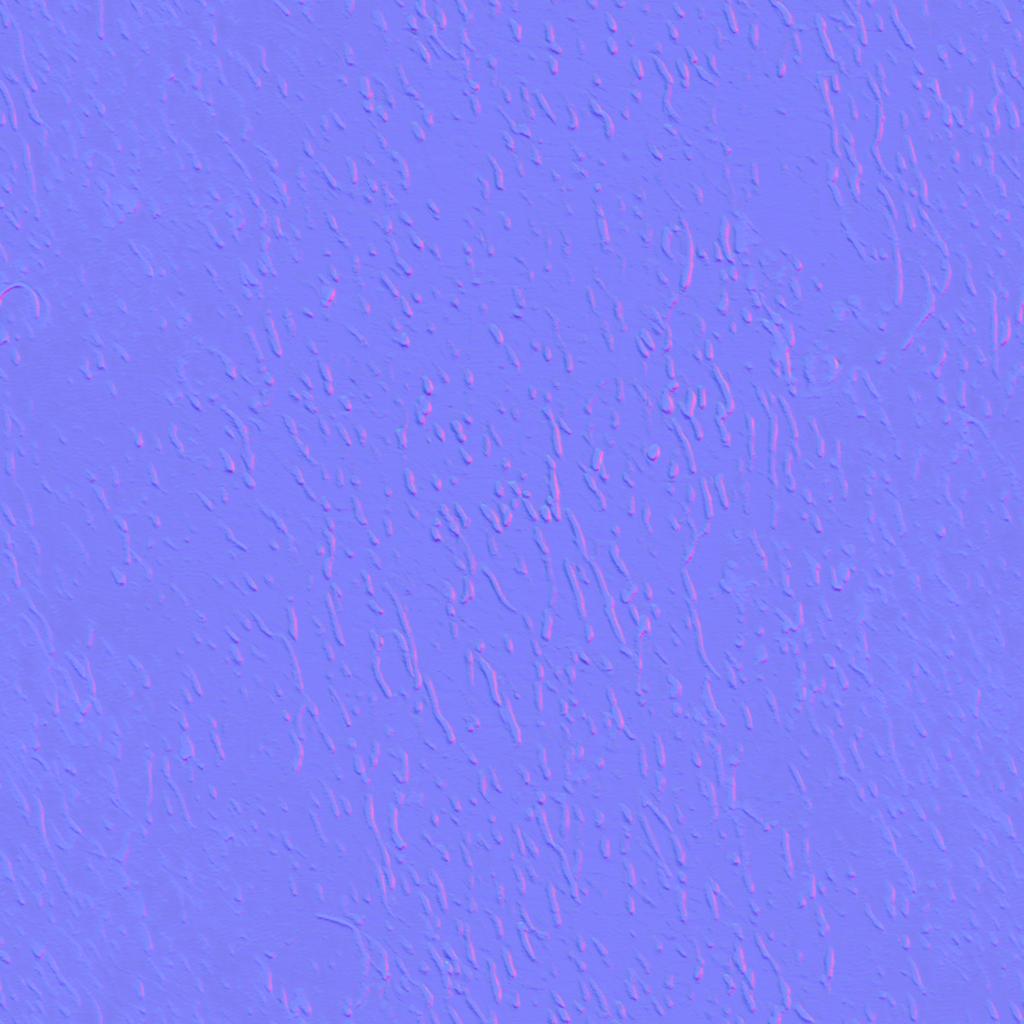
This normal map has a very prominent impact on the way the transmission shader runs.
A key part of the math behind transmission relies on the angle at which light enters and exits the material. The normal map causes this to vary greatly around the raindrop streaks themselves and causes the path of light to vary greatly on them - just like in real life.
Here’s how the windows look after adding in the normal map:
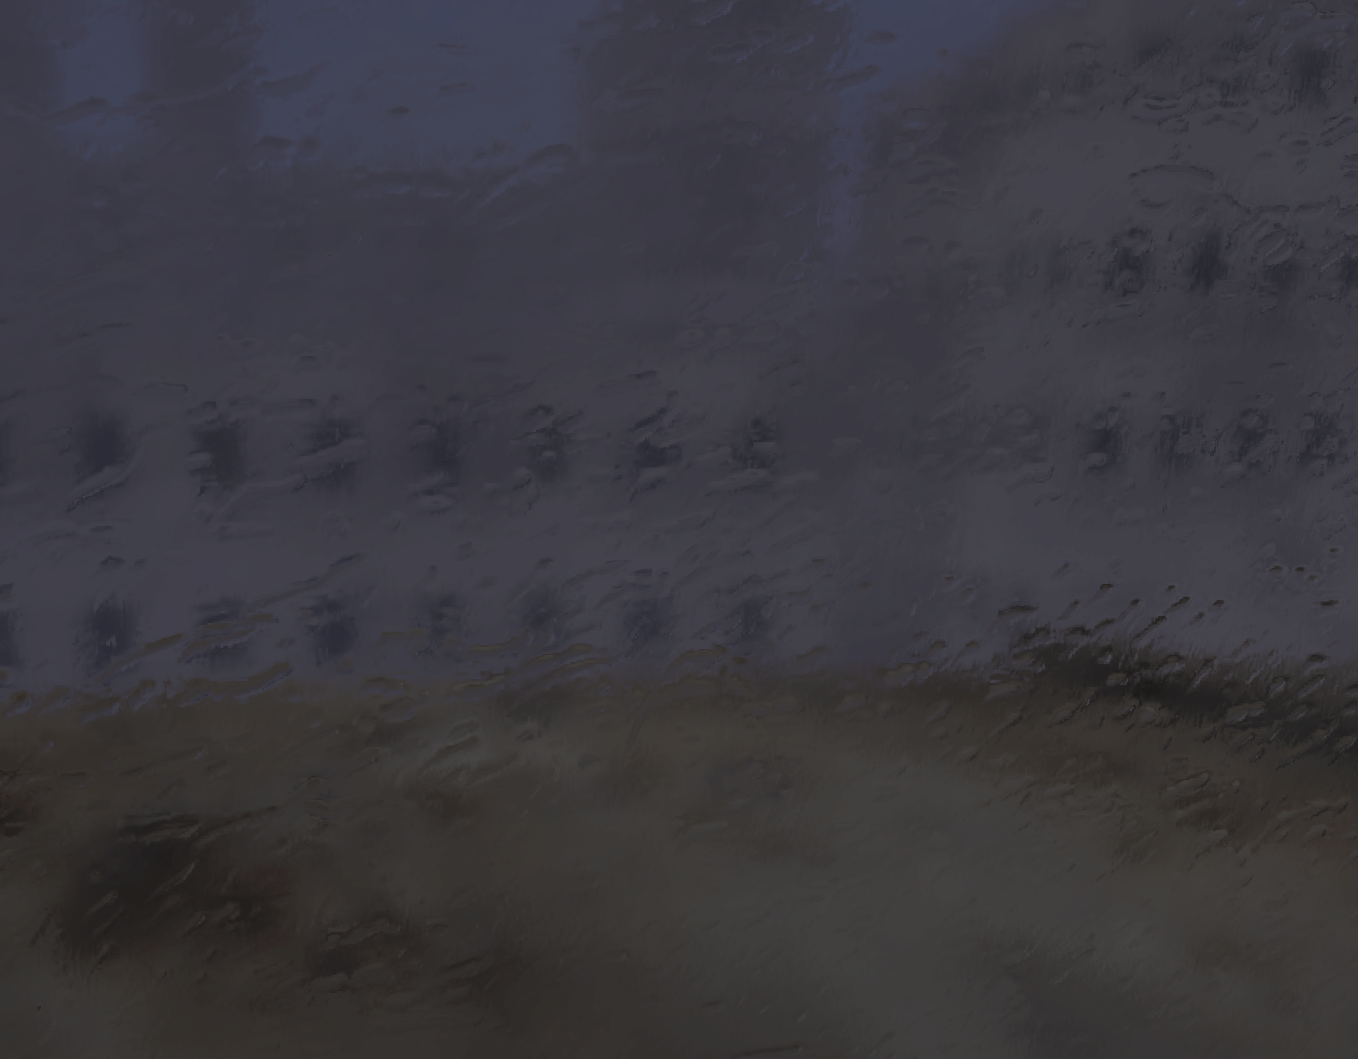
And there you go - that’s the core of the effect!
Light is strongly refracted around the raindrops - especially around their edges - which causes light from different parts of the background scene to get pulled through, creating the cool-looking distortions. It’s a real testament to the power of physically-based rendering that this works as well as it does.
Thickness / Thickness Map⌗
Now we just need to put on some finishing touches.
The thickness parameter controls how thick the material is assumed to be when doing transmission computations. The thicker it is, the more refraction and other effects will take place.
I chose a base thickness value of 0.8 for my material. I’m pretty sure that’s way higher than anything physically accurate, but I found that it seems to exaggerate the raindrops and make the end result look better to me.
The thicknessMap is multiplied to the base thickness across the material’s surface just like roughnessMap and others. I used the same texture as for the roughness map for the thickness map.
It has a subtle but noticeable effect and helps make the raindrops even more prominent, treating the material as thicker at places where the raindrops are on its surface.
Texture Map⌗
The final piece for this material is the small black flecks on the window’s surface.
To implement it, I used an almost-pure-white texture with some black flecks on its surface and set it as the material’s map.
Here’s the actual image I use for it:
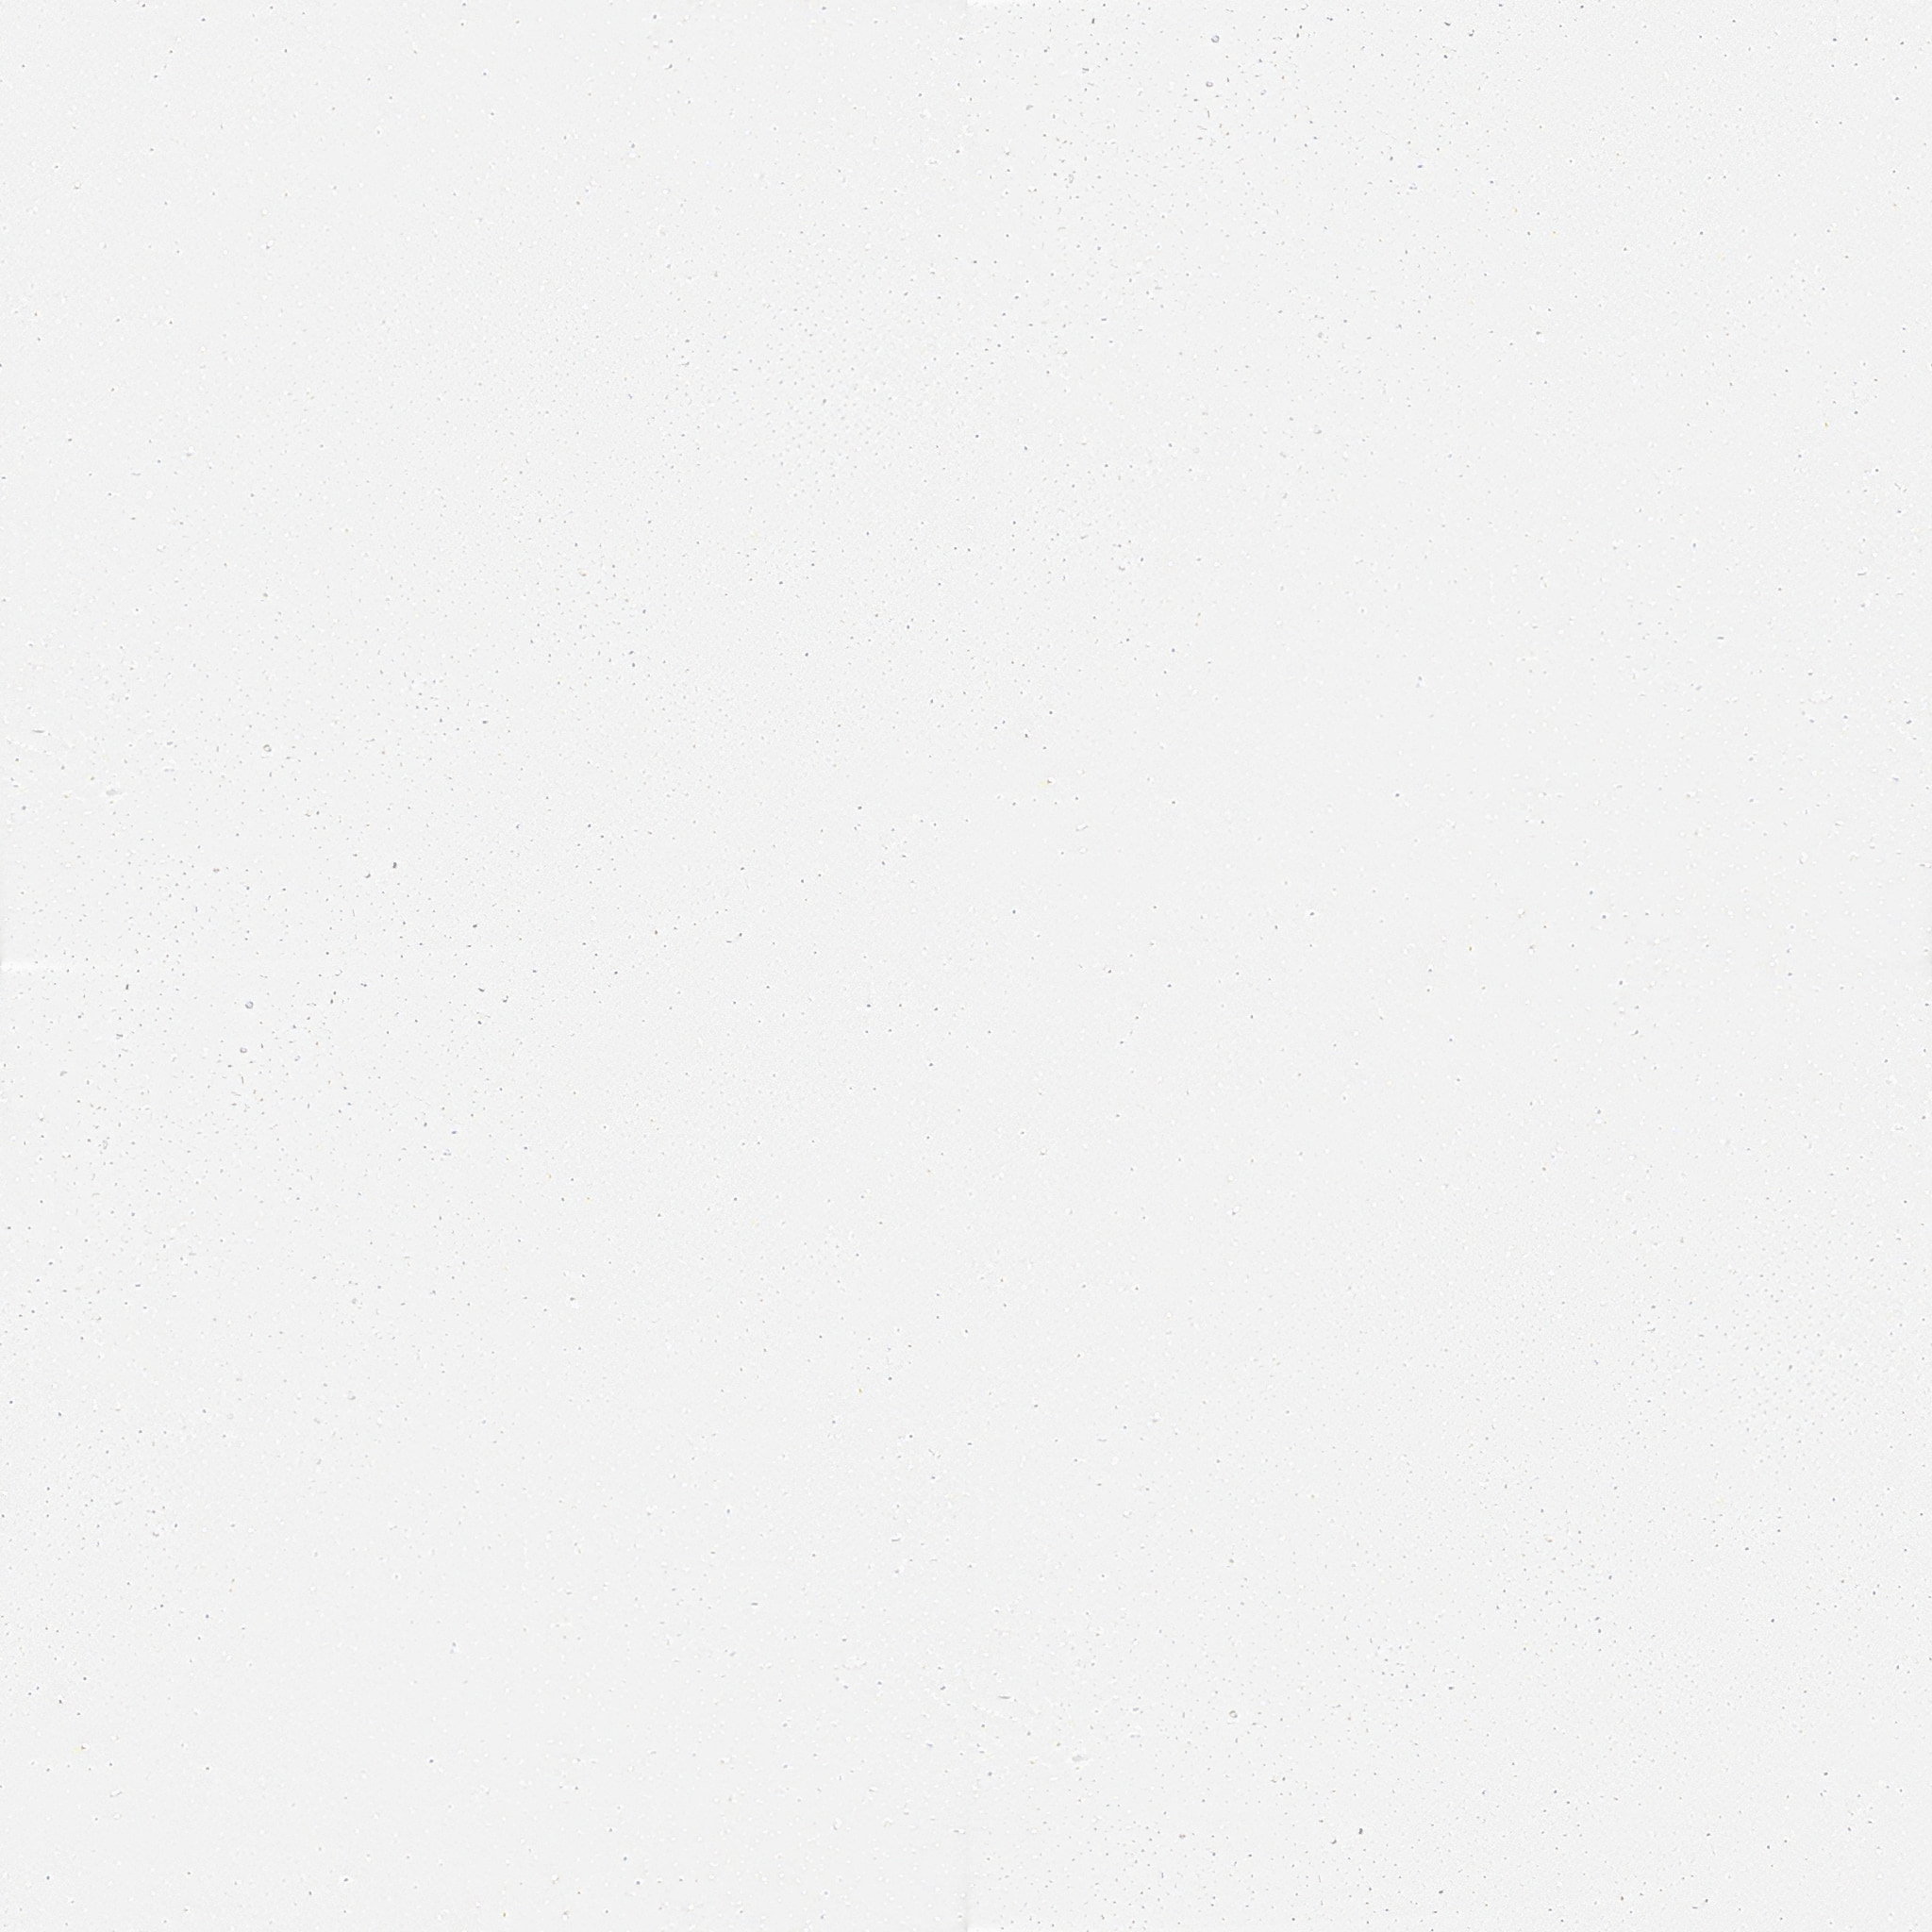
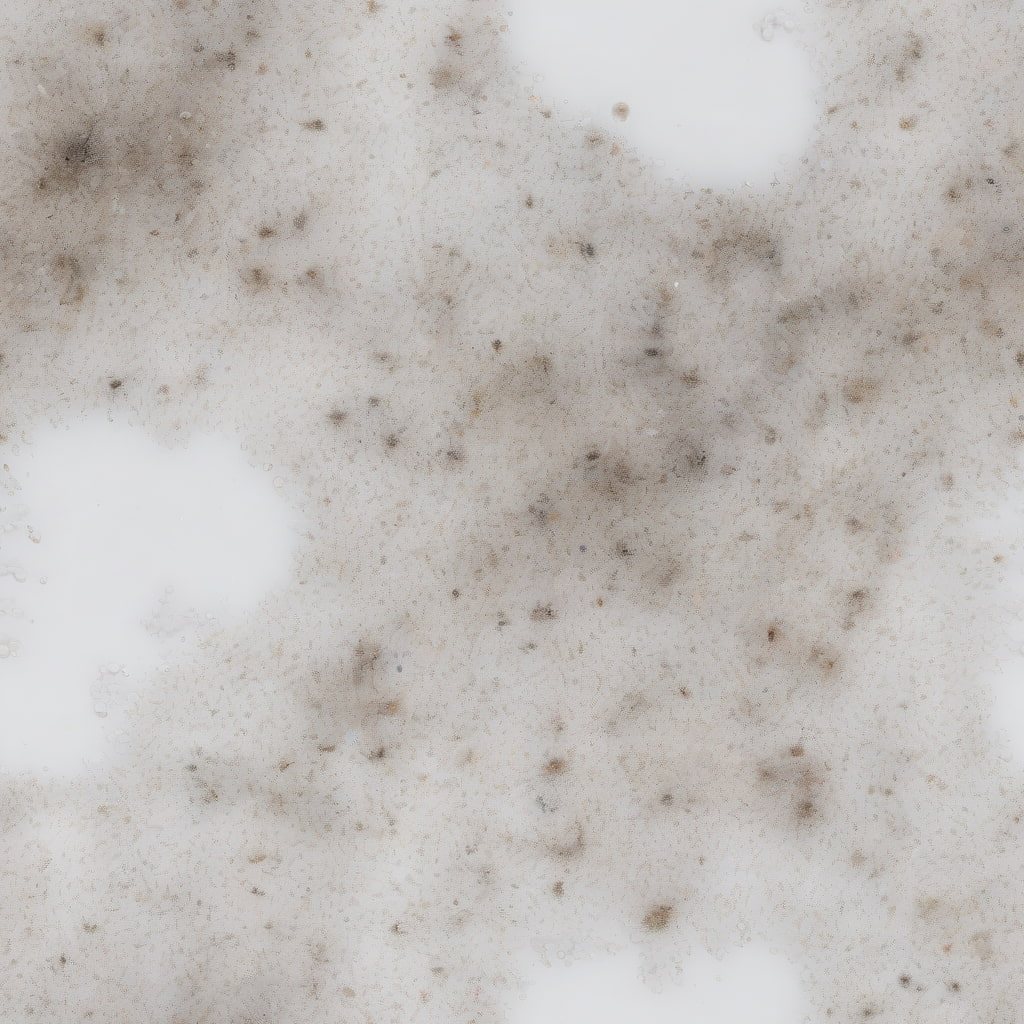
To make the texture, I also used Stable Diffusion. I generated a pretty generic texture like this to start out:
This texture is also 1024x1024 and seamless like the gold texture, although that doesn’t matter as much in this case.
I then processed it in GIMP, adjusting the color balance, exposure, and other things until it was almost perfectly white and only a few tiny flecks were visible.
I found that it’s important to keep the map subtle for this material; making it too busy or opaque quickly makes the window look messy and greatly takes away from the cool transmission effects on the raindrops.
Final Result⌗
Here’s the whole code I ended up with for the final rain-covered windows material:
const goldTextureNormal = await loadTexture('https://i.ameo.link/be2.jpg');
const goldTextureAlbedo = await loadTexture('https://i.ameo.link/be0.jpg');
const windowSurface = await loadTexture('https://i.ameo.link/bn8.jpg');

goldTextureNormal.repeat.set(34, 34);
goldTextureAlbedo.repeat.set(34, 34);
windowSurface.repeat.set(40, 40);

const greenhouseWindowsMaterial = new THREE.MeshPhysicalMaterial({
  map: windowSurface,
  transmission: 1,
  roughness: 0.64,
  roughnessMap: goldTextureAlbedo,
  normalMap: goldTextureNormal,
  ior: 1.6,
  thickness: 0.8,
  thicknessMap: goldTextureAlbedo,
});
There’s really not a lot to it code-wise; Three.JS does all the heavy lifting for us with its fancy transmission shader.
Once you have good textures to use for your maps, it’s mostly just a matter of playing around with the IOR and roughness until you’re happy with the way it looks.
Feel free to use these textures yourself directly; they’re public domain. You can copy this whole material as well if you want. If you do, I’d love to hear if you build something cool with it!
My twitter is @ameobea10 and my mastodon is @ameo@mastodon.ameo.dev; feel free to let me know there. I also post updates when I work on stuff like this, so you can give me a follow if you’d like to see those.